Installation Guide
CodeXray Observability runs the same way you want it to — fully managed in our cloud, or self-hosted in your own infrastructure. The platform, the agents, and the data model are identical across deployments; the only thing that changes is who runs the backend.
Pick the Right Option for You
| SaaS (Cloud-Hosted) | On-Prem — Docker Compose | On-Prem — Kubernetes | |
|---|---|---|---|
| Best for | Teams that want zero infrastructure overhead | POCs, design partners, small evaluations | Production workloads at any scale |
| Time to first telemetry | ~5 minutes (self-onboarding) | ~10 minutes | ~30 minutes |
| Who runs the backend | CodeXray (us) | You | You |
| Where your data lives | Our managed ClickHouse — pick EU or NA region | Your hardware | Your cluster |
| Pricing model | Per-GB ingestion | Node-based licensing | Node-based licensing |
| Suitable for production | ✓ | Up to 10 nodes / 50 GB-day | ✓ at any scale |
| Compliance / data residency | EU and NA regions; reach out for others | Full control | Full control |
"Hybrid" simply means agents run inside your infrastructure (no data leaves your network until the agent's outbound POST) and report to our SaaS collector. There's no separate hybrid install — pick SaaS below and install agents the same way you would for on-prem. The agent's outbound TCP to the SaaS collector is the only thing that crosses your boundary.
Option A — SaaS (Cloud-Hosted)
The fastest path to seeing CodeXray on your real telemetry — no servers to provision, no databases to manage, no upgrades to schedule. You sign up, create a project, and point your agents at the SaaS collector. We handle the rest.
Pick a region
CodeXray SaaS runs in two regions today. Pick the one closest to your infrastructure (or the one that matches your data-residency requirements).
| Region | URL | Best for |
|---|---|---|
| Global (default) | https://saas.codexray.io | Teams outside North America; default for new sign-ups |
| North America | https://saas-na.codexray.io | Teams whose infrastructure is primarily in NA, or who need US data residency |
Tenants are not portable between regions. Choosing the wrong region just means a re-sign-up; nothing is lost, but agents would need to be re-pointed at the new URL. If you're unsure, the global URL is the safe default.
Self-Onboarding — From Credentials to First Telemetry
CodeXray SaaS is admin-provisioned, then self-served. Once your tenant has been created and you have admin credentials, you can stand up projects, invite teammates, and start ingesting data — without anyone from our team in the loop.
Step 1 — Sign up for free
Open https://www.codexray.io/signup and fill in the Sign Up for Free form:
| Field | What it is |
|---|---|
| Full name | Your name — used for the admin user on the tenant we provision |
| Work email | The address sign-in credentials and onboarding emails are delivered to |
| Company | Becomes the default tenant name |
| Verify you're human | Quick captcha |
Hit Sign Up. Our team will follow up within 24 hours with your sign-in URL (one of the two region URLs above) and the initial admin credentials. If you don't see the email, check your spam folder.
- Quick onboarding — up and running in under a day from form submission to first telemetry
- Enterprise-grade security — SOC 2 ready; your telemetry stays in the region you pick and never crosses tenant boundaries
- Dedicated specialist — a real human walks you through setup, picks the right region for you, and answers integration questions
By signing up you agree to the Terms and Privacy Policy linked at the bottom of the form.
Step 2 — Sign in
Open your region URL (https://saas.codexray.io for Global or https://saas-na.codexray.io for North America) and sign in with the credentials you received.
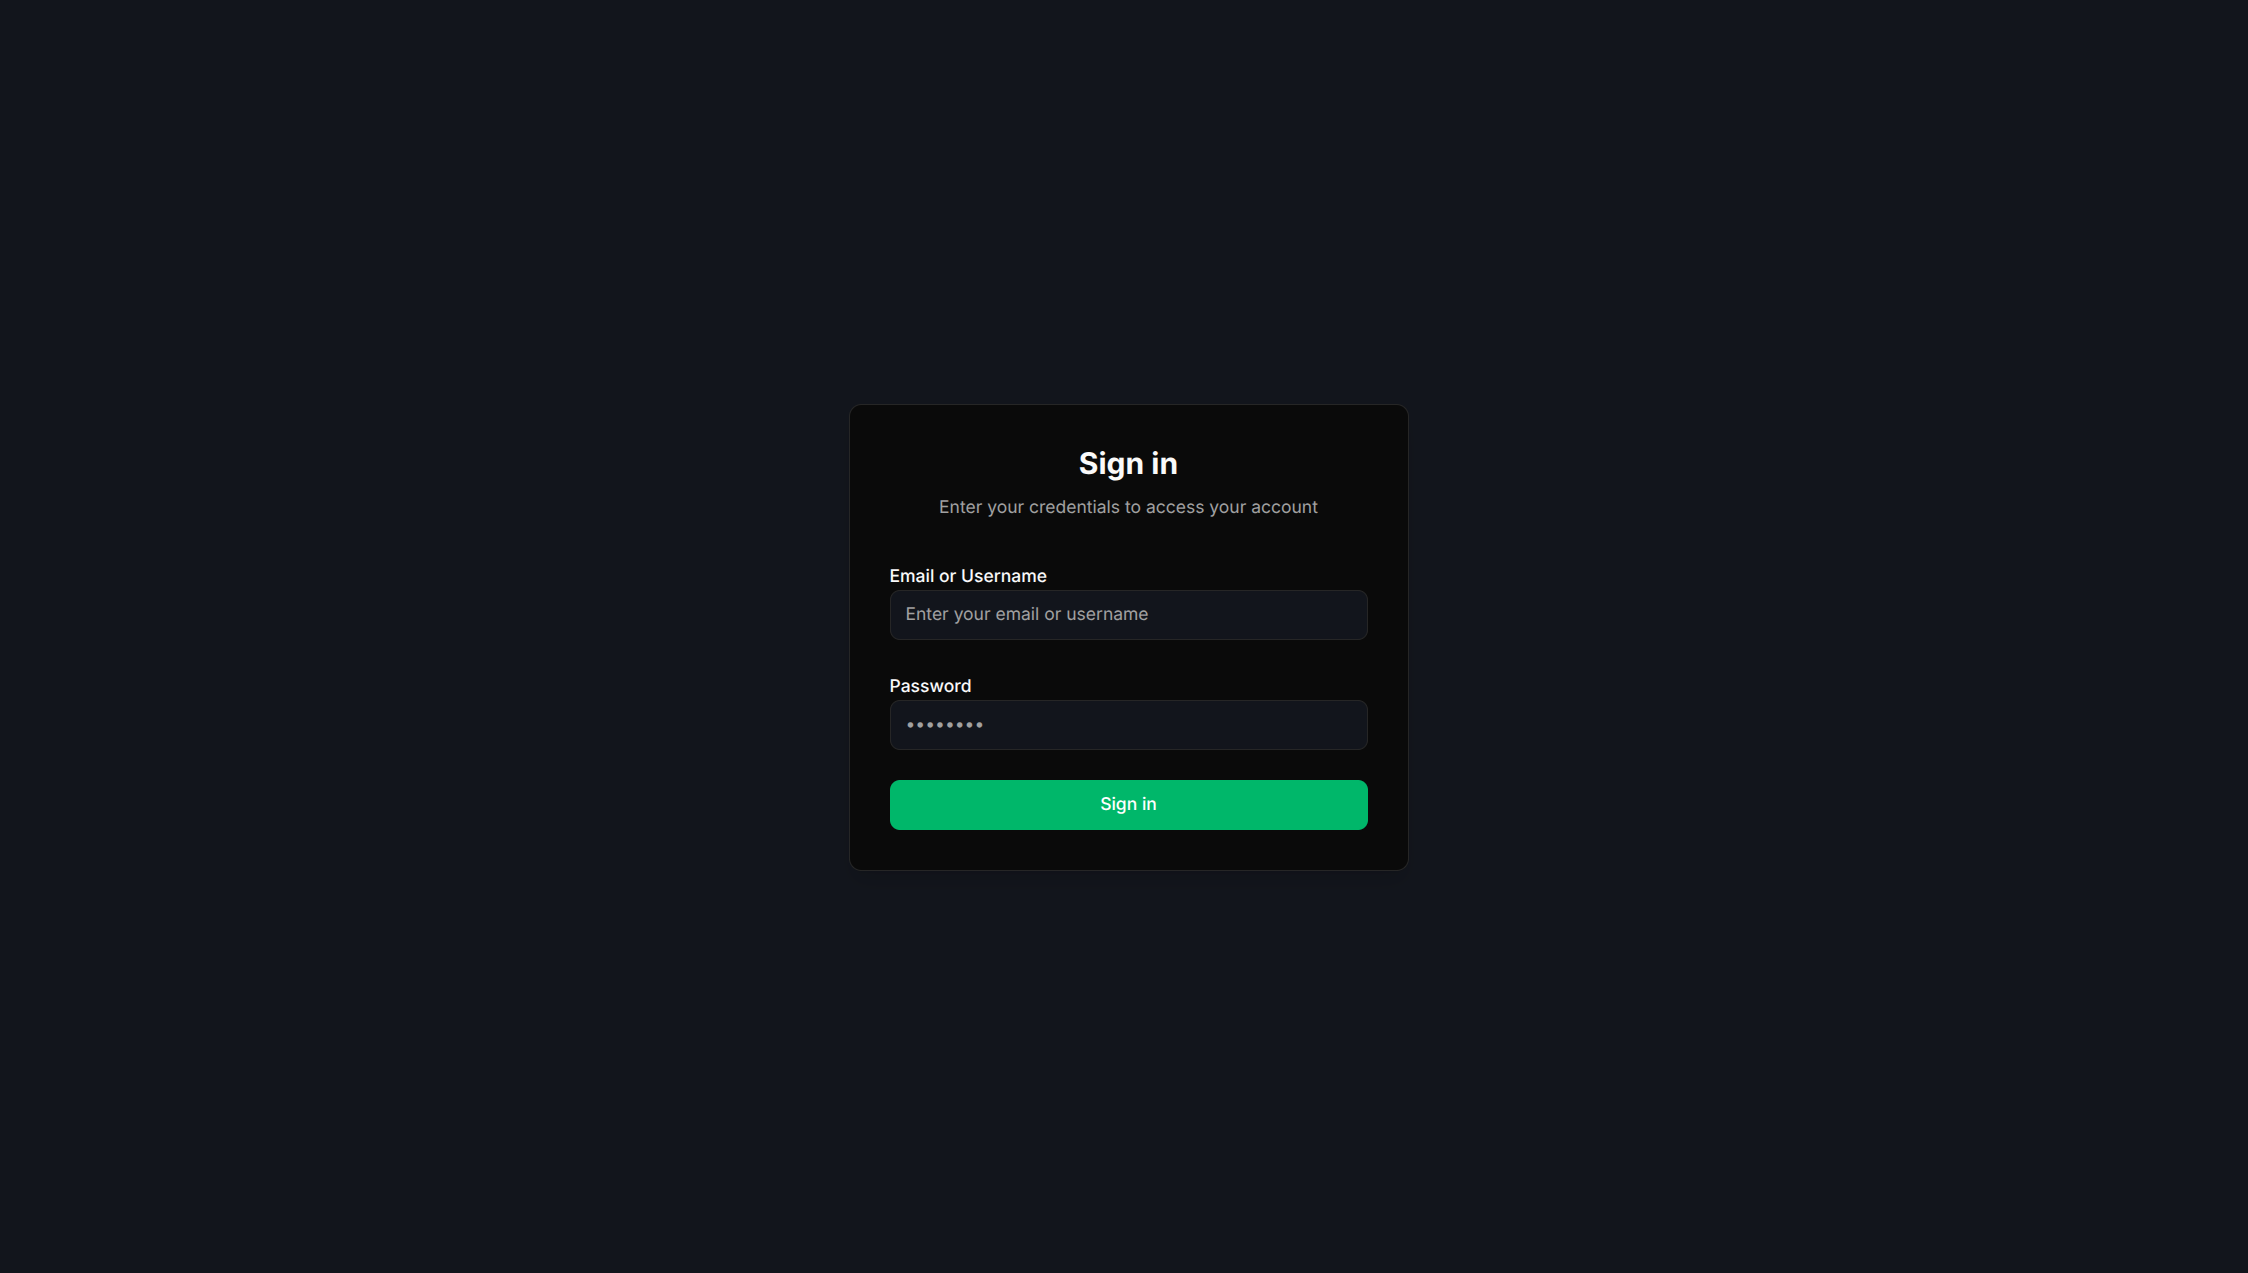
If your organisation already has SSO set up, the page will show a "Sign in with SSO" option that redirects to your identity provider. See Single Sign-On for the SSO configuration story.
Step 3 — Change the admin password
Open the user-profile area in the top-right and pick Change Password. CodeXray hashes passwords with bcrypt and never stores them in plaintext — see Changing Your Credentials for the full flow.

Step 4 — Confirm your tenant and pick a project
The top navbar shows two selectors — Tenant and Project. Your tenant is already set; a default project is created for you. Most teams keep the default project for production, then create one project per additional environment (staging, qa).
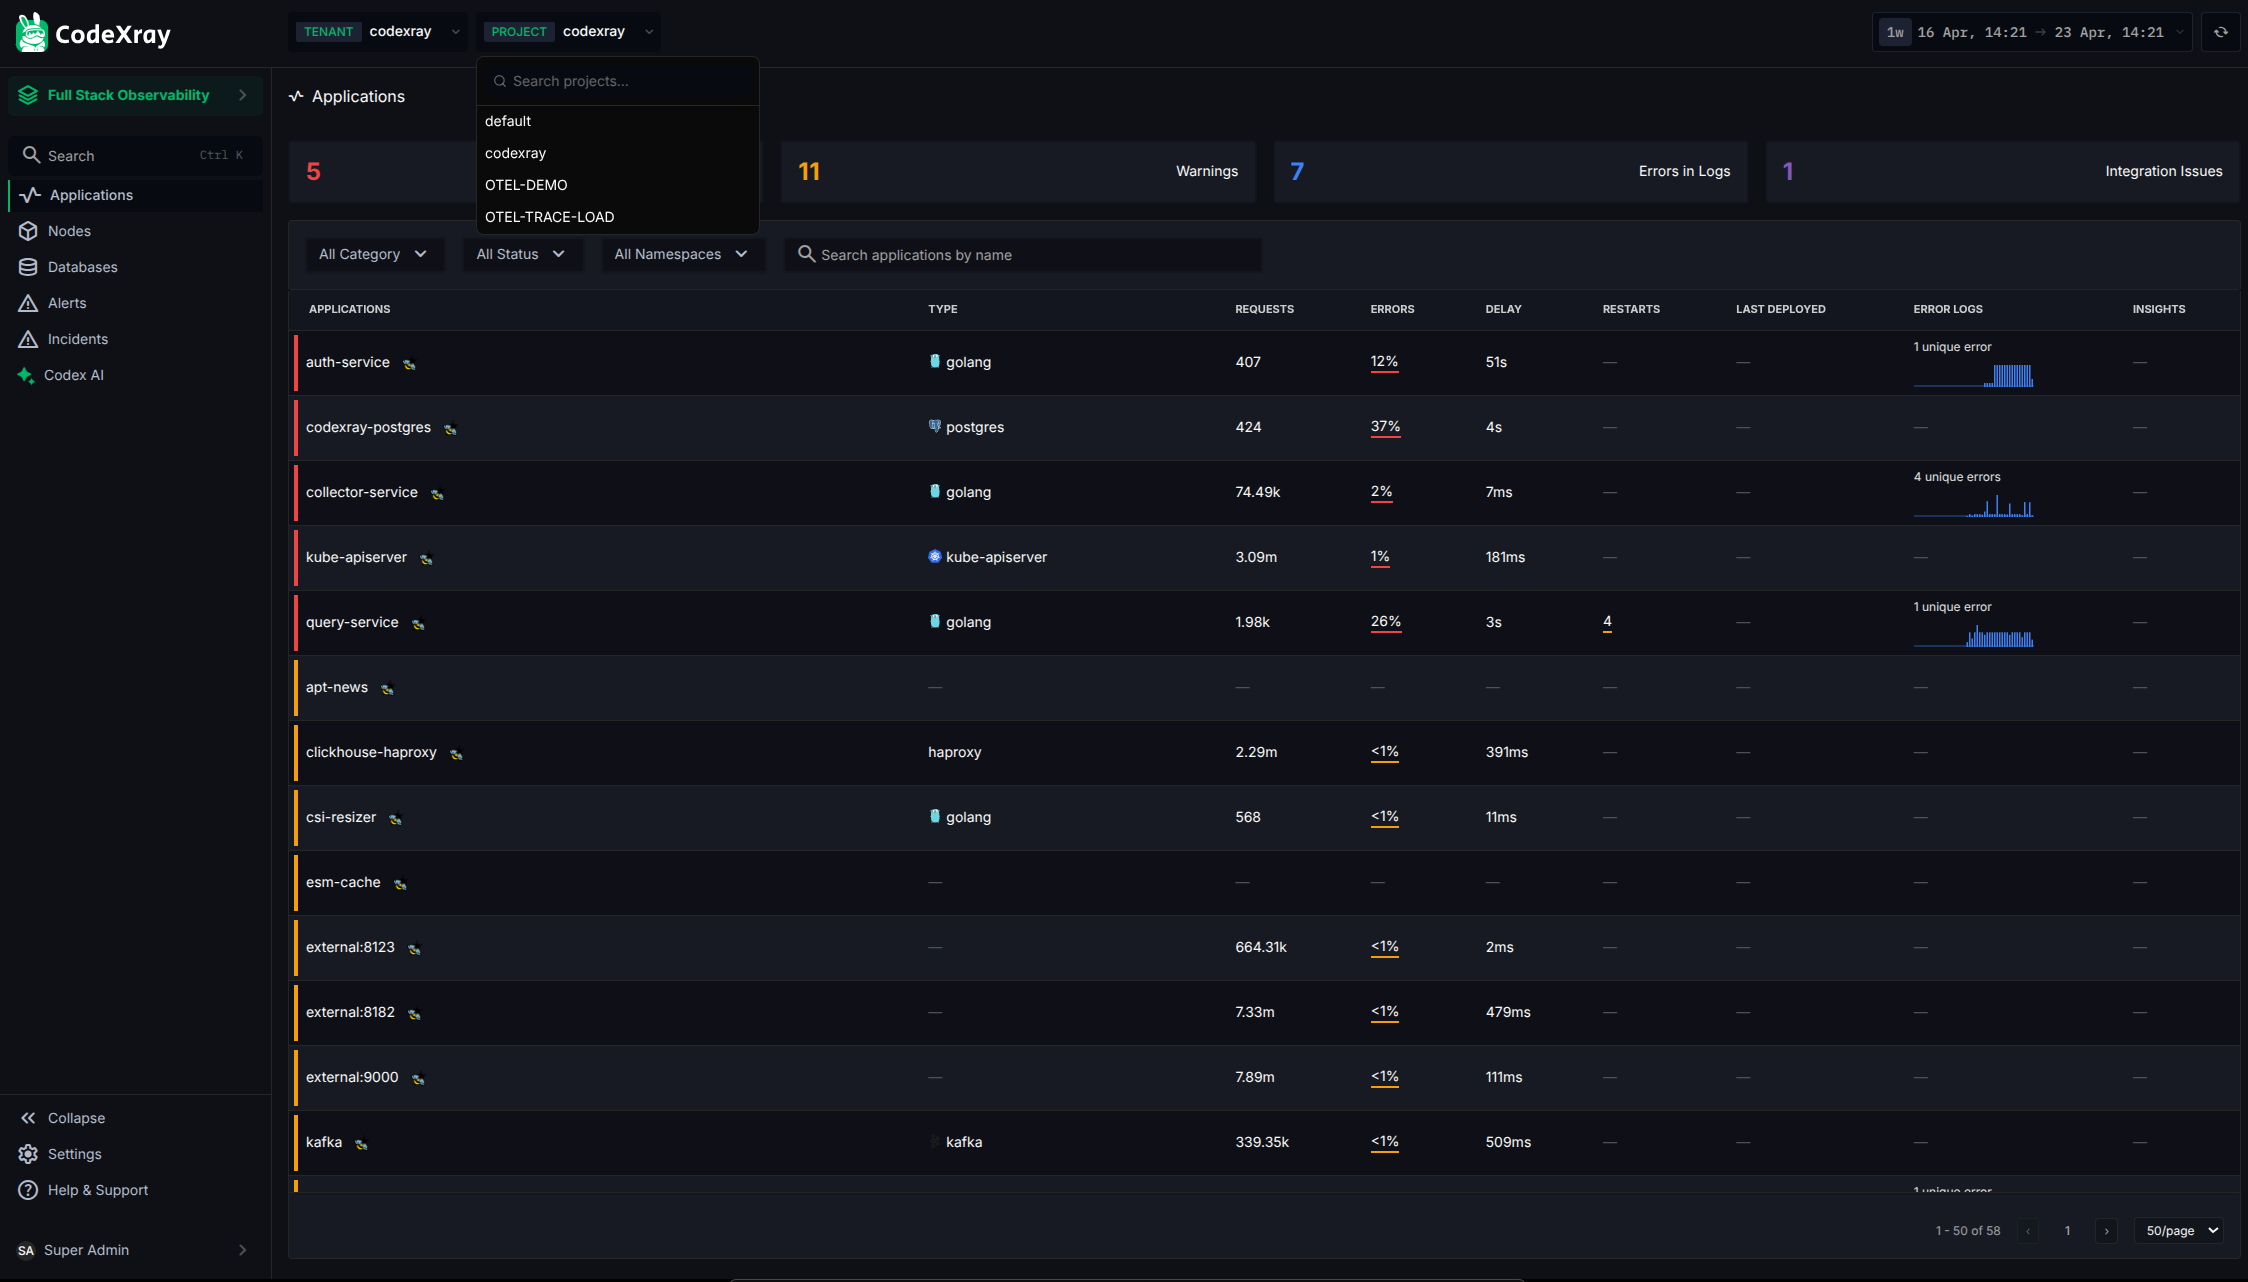
See Multi-Tenancy for how tenants and projects partition your data.
Step 5 — Copy your project API key
- Switch to the project you want to ingest into.
- Open Project Settings → API Keys.
- The default project API key is generated at project creation — click Copy to put it on your clipboard.
The key is a signed JWT that carries the tenant_id and project_id — so telemetry routes itself automatically once an agent has the key. You can rotate or issue additional keys any time from the same screen.
Step 6 — Point your first agent at the SaaS collector
Every CodeXray agent takes two pieces of configuration: the collector endpoint and the API key. For SaaS, the collector endpoint is your region URL.
| Agent | Helm install (recommended) | Manifest install |
|---|---|---|
| Node Agent | See Node Agent — Helm — set nodeAgent.collector_endpoint='https://saas.codexray.io' and nodeAgent.apiKey='<your-key>' | See Node Agent — Manifest |
| Cluster Agent | See Cluster Agent — Helm — set clusterAgent.codexray_url='https://saas.codexray.io' and clusterAgent.apiKey='<your-key>' | See Cluster Agent — Manifest |
| Database Agent | See Database Agent | — |
| Windows / .NET Agents | See Windows · .NET | — |
Substitute https://saas-na.codexray.io if you signed up in the North America region.
Step 7 — Watch the data flow
Within a couple of minutes you'll see:
- The Nodes view populate with hosts the Node Agent is running on
- The Applications view list the services as they're detected
- The Topology view start drawing the service map from real TCP traffic
If nothing appears after 5 minutes, see Verifying It's Working on the Node Agent page — the two most common causes are firewall egress to the SaaS URL, or an API key from a different project.
Step 8 — Invite your team
The admin you signed in as can create additional users and assign roles from the user-management screen. See Role-Based Access Control for the full flow — adding users, assigning roles, and mapping SSO groups to CodeXray roles automatically.
What's included in SaaS
- Fully managed CodeXray platform — ClickHouse, collector, query, UI, and alerting engine all run on our infrastructure
- Automatic upgrades — you always get the latest features and fixes
- Built-in alerts and notification channels — Slack, Webhook, PagerDuty (see Alerts)
- 24/7 monitoring of the SaaS infrastructure itself by our team
Pricing is per-GB ingestion — there are no per-span surprises and no agent-count charges. Talk to us at hello@codexray.io for volume pricing.
Option B — On-Prem · Docker Compose (POC / Evaluation)
The fastest way to see CodeXray running on your own infrastructure. Everything — backend, storage, and UI — comes up on a single host with one command. Recommended for proof-of-concept and design-partner pilots (up to 10 nodes, 50 GB/day ingest).
Prerequisites
- A single VM or laptop with Docker 24+ and Docker Compose v2
- Minimum 4 vCPU · 16 GB RAM · 100 GB SSD
- Linux preferred (Docker Desktop on macOS/Windows also works for trials)
Install
# 1. Fetch the compose bundle
curl -fsSL https://raw.githubusercontent.com/codifinary/codexray/main/deploy/docker-compose.yaml -o docker-compose.yaml

# 2. Bring up the platform
docker compose up -d

# 3. Watch the logs until everything is healthy
docker compose logs -f
The UI becomes available at http://localhost:3000 within a minute or two. The default admin credentials are printed in the logs on first start — change them immediately after login.
Stopping / cleaning up
docker compose down           # stop, keep data
docker compose down -v        # stop and wipe all data
What you get
- Full CodeXray platform — collector, query, UI, and auth — running on one host
- Local ClickHouse + Prometheus
- A default tenant, project, and admin user, ready to log in
- A project API key you can copy to instrument your first service
Option C — On-Prem · Kubernetes (Production)
For production deployments on Kubernetes. Works with any CNCF-conformant cluster running Kubernetes 1.26 or newer.
Prerequisites
- A Kubernetes cluster sized per the Requirements tier you picked
kubectlconfigured for the target cluster- A default StorageClass with dynamic PVC provisioning
- Cluster-admin permissions for the initial install
Install
# Apply the CodeXray manifest
kubectl apply -f https://raw.githubusercontent.com/codifinary/codexray/main/deploy/k8s/codexray.yaml

# Watch the platform come up
kubectl -n codexray get pods -w
All pods should reach Running state within a few minutes. ClickHouse and Prometheus PVCs bind during startup — if they stay Pending, check your StorageClass configuration.
Expose the UI
By default, the CodeXray UI is a ClusterIP service. Expose it via the method that matches your platform:
- Ingress (recommended) — wire up your ingress controller with TLS
- LoadBalancer —
kubectl patch svc codexray-ui -n codexray -p '{"spec":{"type":"LoadBalancer"}}' - Port-forward (testing only) —
kubectl -n codexray port-forward svc/codexray-ui 3000:80
The agents ship as Helm charts — see the Node Agent and Cluster Agent install pages. You can use them whether the platform itself is deployed via manifest or Docker Compose.
First Login (On-Prem only)
For SaaS, sign-up handles this — see Step 1 of the SaaS onboarding above.
For self-hosted Docker Compose and Kubernetes:
- Open the CodeXray UI in your browser.
- Sign in with the initial admin credentials (from first-run logs for Docker Compose; from the admin secret for Kubernetes).
- Go to Project Settings → API Keys and copy the default project API key — you'll need it for your agents.
- Change the admin password immediately.
Next — Send Telemetry
An empty CodeXray is no fun. Install one or more agents to start flowing real data. For SaaS, set the collector endpoint to your region URL (e.g. https://saas.codexray.io); for on-prem, set it to your platform's collector URL.
- CodeXray Node Agent — node + container telemetry via eBPF (start here for any Linux host / Kubernetes node)
- CodeXray Cluster Agent — Kubernetes cluster state, events, and profiles
- CodeXray Database Agent — engine-level database monitoring
- CodeXray Windows Agent — Windows host metrics and services
- CodeXray .NET Agent — .NET application performance monitoring
Alternatively, send telemetry directly from any OpenTelemetry-instrumented service — the collector accepts OTLP gRPC and HTTP out of the box.
Upgrading
SaaS
You don't upgrade — we do, automatically, with zero downtime. Release notes are posted in the in-app announcement panel.
Docker Compose
docker compose pull && docker compose up -d
The images are pinned to latest by default; for production, pin to a specific version tag.
Kubernetes
Apply the updated manifest:
kubectl apply -f https://raw.githubusercontent.com/codifinary/codexray/main/deploy/k8s/codexray.yaml
Rolling updates are the default. Data volumes and existing configuration are preserved across upgrades.
Getting Help
- Sign up for SaaS: https://www.codexray.io/signup — fill the form, we follow up within 24 hours
- Requirements & sizing: Requirements — only needed for on-prem
- Scaling beyond the defaults: hello@codexray.io — we'll help you design the right topology
- Architecture deep-dive: Architecture
Next Steps
- Requirements — confirm your hardware matches the tier you're deploying (on-prem only)
- CodeXray Node Agent — instrument your first node, on SaaS or on-prem
- Architecture — understand what you just deployed